Masking Tape: Uses, Differences from Painter’s Tape & Residue Removal Guide
Masking tape is a versatile adhesive tool trusted by professionals and DIY enthusiasts alike for its temporary bonding capabilities and precision. In this comprehensive guide, we explore its diverse applications, differentiate it from painter’s tape, and address common concerns about residue.

I. What is Masking Tape Used For?
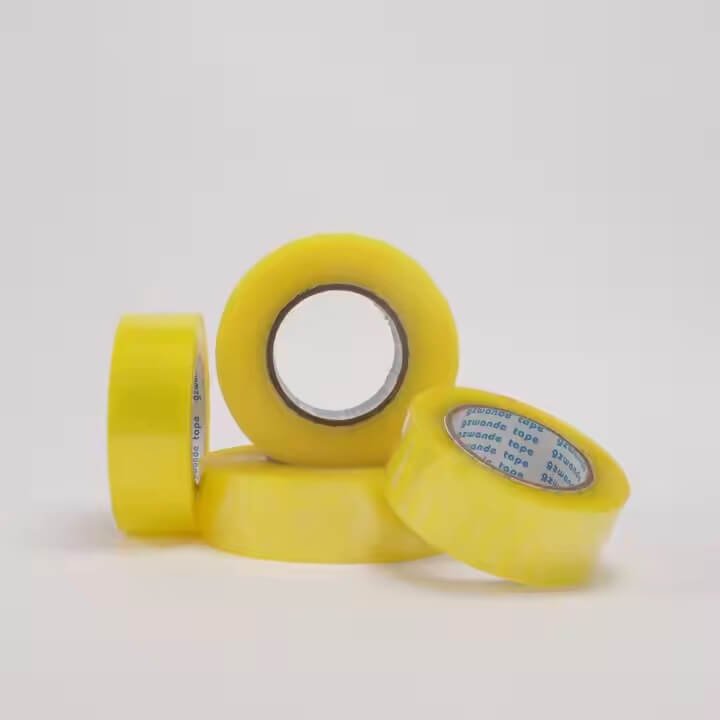
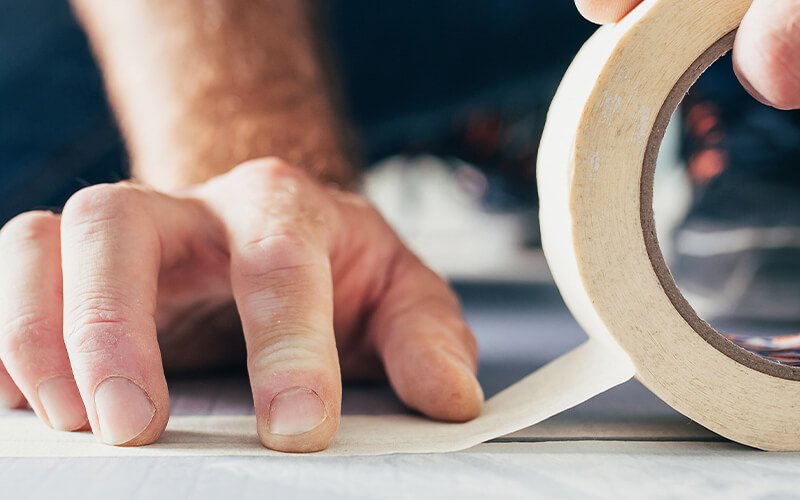
Masking tape, crafted from thin paper with a pressure-sensitive adhesive, excels in tasks requiring temporary, secure adhesion. Its core applications include:

1. Painting & Decorating
- Precision Masking: Creates sharp lines on walls, trim, or furniture to prevent paint bleed.Tip: Apply to dry surfaces and remove within 24–48 hours for the cleanest edges.
- Stenciling: Secures stencils for intricate patterns in crafts or mural painting.
2. Crafting & DIY Projects
- Temporary Hold: Secures paper, fabric, or stencils during scrapbooking, card making, or model building.
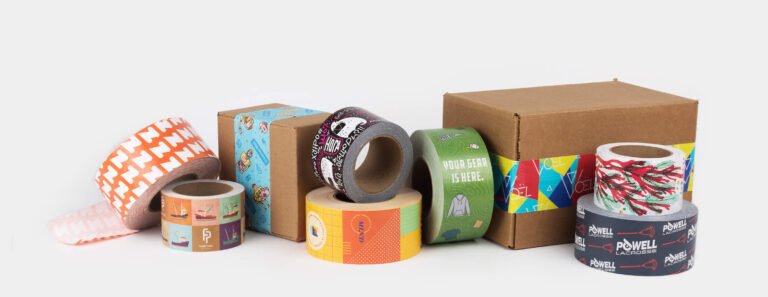
- Washi Tape Alternatives: Colored or patterned masking tape adds decorative elements to journals or gift wrapping.
3. Labeling & Organization
- DIY Labels: Write directly on the tape for quick labeling of storage boxes, tools, or pantry items.
- Measurement Marking: Marks cutting lines on wood, fabric, or drywall for precise installations.
4. Automotive & Industrial Use
- Pre-Paint Protection: Shields bumpers, windows, or trim during car painting or detailing.
- Part Marking: Labels components during machinery assembly or repair for easy identification.
5. Home Maintenance
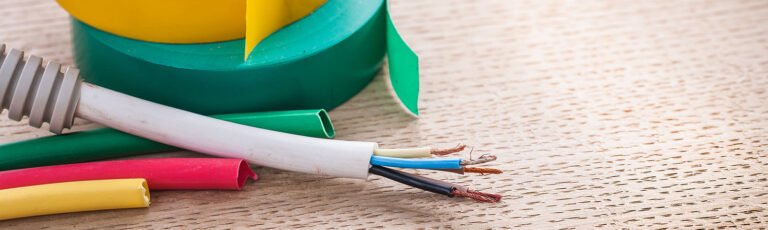
- Temporary Repairs: Holds loose wallpaper, carpets, or cables in place until permanent fixes are made.
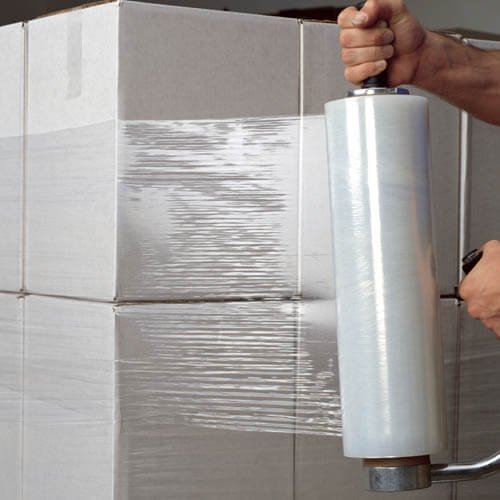
- Sealing Boxes: Light-duty use for securing small packages or envelopes.
II. Masking Tape vs. Painter’s Tape: Key Differences
While both tapes serve similar purposes, their formulations and performance vary significantly:
| Feature | Masking Tape | Painter’s Tape |
| Adhesive Strength | Strong, ideal for rough surfaces | Gentle, low-tack for delicate surfaces |
| Surface Compatibility | Works on wood, metal, and rough textures | Optimized for painted walls, wallpaper, or glass |
| Residue Risk | Higher chance if left on long-term | Formulated for clean, residue-free removal |
| Thickness | Thicker (30–60 microns) | Thinner (90–120 microns) |
| UV Resistance | Limited; may yellow in sunlight | Often UV-stabilized for outdoor use |
| Typical Cost | Lower | Higher (due to specialized adhesives) |
When to Choose Each
- Masking Tape: Heavy-duty tasks, rough surfaces, or short-term use (e.g., construction, moving).
- Painter’s Tape: Fine painting, delicate surfaces, or long-term masking (e.g., interior design, professional finishes).
III. Does Masking Tape Leave Residue?
Key Factors Influencing Residue
- Tape Quality:
- High-quality masking tapes (e.g., from reputable manufacturers) use balanced adhesives to minimize residue.
- Budget tapes may have aggressive adhesives that stick too firmly, especially on porous surfaces.
- Surface Type:
- Porous Surfaces (wood, drywall, unfinished metal): Higher risk of residue, as the adhesive can seep into tiny gaps.
- Non-Porous Surfaces (glass, painted walls, plastic): Lower risk; tape peels off more cleanly.
- Duration of Use:
- Short-term use (1–3 days): Minimal residue risk.
- Long-term use (7+ days): Adhesive may cure and bond more permanently, increasing residue likelihood.
- Environmental Conditions:
- Heat or humidity can soften adhesives, making residue more probable. Avoid leaving tape on in direct sunlight or damp environments.
How to Remove Masking Tape Without Residue
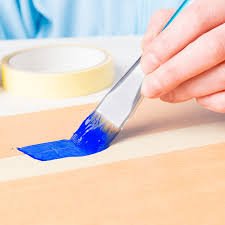
- Timing is Key: Remove tape while the paint is still slightly tacky (not fully dry) for the cleanest result.
- Slow, Steady Removal: Peel at a 45° angle, pulling the tape back on itself to reduce stress on the surface.
- Residue Solutions:Light Residue: Gently rub with a rubber eraser or microfiber cloth.
- Sticky Residue: Apply isopropyl alcohol or adhesive remover (e.g., Goo Gone) to a cloth, not directly on the surface, and wipe gently.
IV. Best Practices for Using Masking Tape
- Test First: Always test tape on a small, hidden area to check for adhesion and residue.
- Surface Preparation: Clean surfaces with soap and water or isopropyl alcohol to remove dust, oil, or wax.
- Temperature Control: Apply tape at room temperature (60–80°F/15–27°C) for optimal performance.
- Storage: Keep rolls in a cool, dry place to prevent adhesive degradation.
V. Conclusion
Masking tape is a staple for temporary, versatile adhesion, ideal for projects requiring durability and quick application. While it may leave residue under certain conditions, proper tape selection, surface preparation, and timely removal can mitigate this issue. For delicate surfaces or long-term masking, painter’s tape is the superior choice. By understanding their differences and using each tape appropriately, you can achieve professional results in painting, crafting, and maintenance tasks alike.
Whether you’re a weekend DIYer or a seasoned professional, masking tape remains an indispensable tool—provided you use it wisely and match it to the task at hand.